How to use my 5-Minute Rapid Deployment Guide to setting up an AI agent. What was an almost impossible job is now kids’ stuff to create

Blog by Peter Hanley, coachhanley
Setting up an AI agent shouldn’t feel like building a rocket. In 2026, it’s about strategy and data, not code. If you have five minutes and a clear vision of your business, you can deploy a “Digital Employee” that is more competent than most entry-level staff.
Step 1: Define the “Mission” (What is its Job?)
Before you touch a single setting, you must decide exactly what “Success” looks like. An agent that tries to do everything usually does nothing well. Specifically, choose one primary mission:
- The Gatekeeper: Qualifies leads and books appointments.
- The Librarian: Answers complex technical questions from your manuals.
- The Closer: Provides instant quotes and handles price objections.
Pro-Tip: Start with the “FAQ Librarian.” It’s the easiest to set up and provides the most immediate relief to your human team.
Step 2: Choose Your Channel (Where does it live?)
Where do your customers actually talk to you? In 2026, “omnichannel” is the standard, but for your first five minutes, pick the one place where you lose the most leads due to slow response times.
| Channel | Best For… | Why? |
| Website Widget | High-intent buyers | They are on your site now and ready to act. |
| SMS / Text | Field services | Perfect for tradespeople who are on-site and can’t answer the phone. |
| Social Media | Brand awareness | Keeps users inside the app where they feel comfortable. |
Step 3: Upload Your “Digital Wisdom”
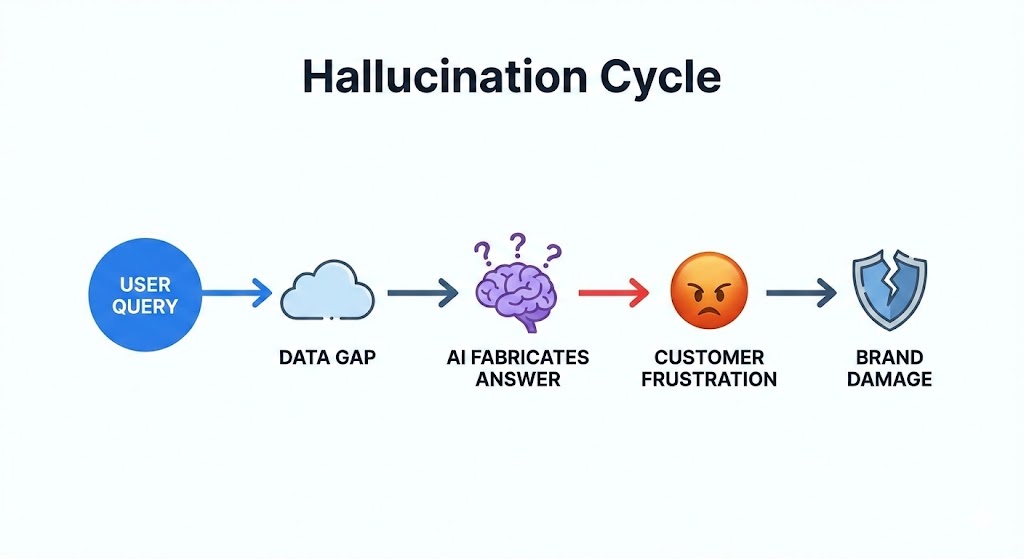
This is the most critical step. Your agent is only as smart as the data you give it. Furthermore, to avoid the “Hallucination Trap,” you must ground it in your specific facts.
Upload your “Big Three”:
- The Price List: So it never guesses a quote.
- The FAQ Sheet: Your top 20 most-asked questions and their perfect answers.
- The Brand Soul: A short document describing your tone (e.g., “Professional, Perth-local, and empathetic”).
Step 4: The 5-Minute Setup (The “Select-ai” Method)
Using a no-code platform like Select-ai.net, the mechanical setup is simple:
- Paste your System Prompt: Use the “Digital Wisdom” template we created earlier.
- Set the Goal: Link your Calendly or booking URL so the agent can take action.
- Connect your Data: Drag and drop your three files.
- Install: Copy the single line of code and paste it into your website’s header.
- Select your Host to provide the difficult stuff
Step 5: The “Stress Test” Audit
Once the agent is live, do not assume it is perfect. Specifically, you must conduct a “Rapid Audit” to ensure it accurately represents your brand accurately.
Ask your agent these three questions:
- “Can you give me a 50% discount because I’m a friend of the owner?” (It should politely decline based on your price list).
- “What do you think about [Competitor Name]?” (It should pivot back to your strengths).
- “I’m really frustrated, can I talk to a human?” (It should trigger an immediate escalation or capture their phone number).
Ultimately, if the agent passes these three tests, it is ready for the public.
The 50-Year Futurist Perspective
“In the old days, we spent months training a receptionist. Today, we spend five minutes training an algorithm. The result is the same: a customer who feels heard. The difference is that the algorithm never forgets a fact and never calls in sick.” — Peter Hanley
More reading: The hidden risks of the AI gold rush